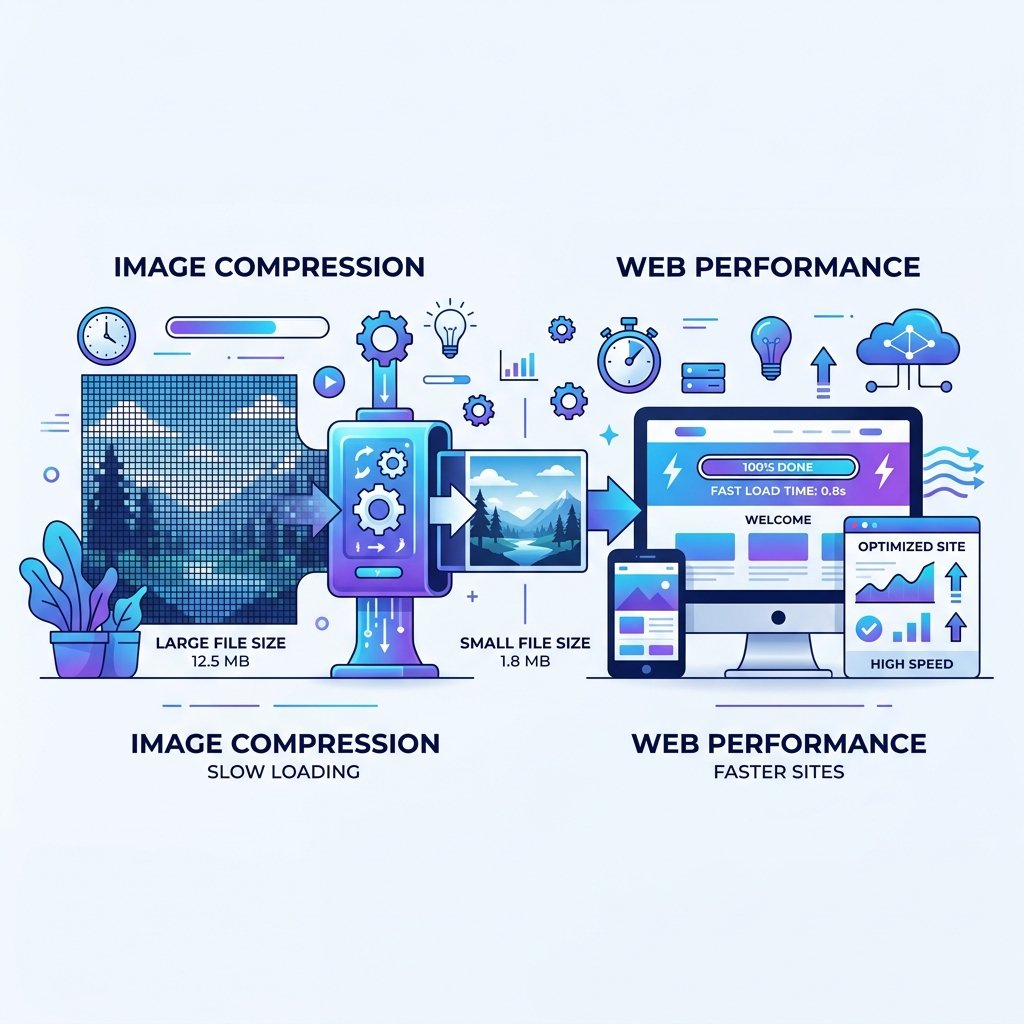
Page speed is a confirmed Google ranking factor — and images are usually the biggest contributor to slow load times. A single unoptimized hero image can add 2–4 seconds to your page load time, which directly hurts both your search rankings and your bounce rate. The good news: image optimization is straightforward once you know the fundamentals.
Why Image Size Matters So Much
Images account for the majority of the total bytes downloaded on most web pages. According to HTTP Archive data, the average web page transfers over 1 MB of images. Every unnecessary kilobyte slows down your page, especially for mobile users on slower connections.
Google's Core Web Vitals include metrics like Largest Contentful Paint (LCP), which measures how quickly the main content of a page loads. A large, unoptimized hero image is one of the most common causes of a poor LCP score.
Compression vs. Resizing — What's the Difference?
- Compression reduces file size by removing unnecessary data from the image file. It can be lossless (no visible quality change) or lossy (slight quality reduction in exchange for much smaller file size).
- Resizing changes the actual pixel dimensions of an image. Displaying a 4000×3000px photo in a 800px-wide blog post means the browser downloads 5x more data than needed.
For best results, do both: resize the image to the maximum display size, then compress it to reduce the file size further.
Recommended Image Dimensions for Blog Content
- Featured image / hero: 1200×630 px (also ideal for Open Graph / social sharing)
- In-content images: 800–1000 px wide maximum
- Thumbnails: 300–400 px
- Avatars / icons: 64–128 px
Choosing the Right Image Format
- WebP: Best for most use cases. Smaller than JPG and PNG with equivalent quality. Supported by all modern browsers.
- JPG/JPEG: Best for photographs and complex images. Good compression but lossy.
- PNG: Best when you need transparency (logos, icons). Larger file sizes than JPG.
- SVG: Best for icons, logos, and illustrations. Vector format scales to any size without quality loss.
- AVIF: Next-generation format with excellent compression. Browser support is growing but not yet universal.
How to Compress and Resize Images — Without Losing Quality
You do not need expensive software to optimize images. Our tools handle both tasks for free, directly in your browser — no upload to external servers required:
- Use the Image Resizer to set your target dimensions and scale images down to the right size before publishing.
- Use the Image Compressor to reduce file size without visible quality loss. You can adjust the compression level to find the right balance.
Both tools work entirely in your browser. Your images are never sent to any server.
Practical Workflow for Blog Images
- Take or source your original image (can be high resolution)
- Open the Image Resizer and set width to 1200px (for featured images) or 800px (for in-content)
- Download the resized version
- Open the Image Compressor and apply 75–85% quality compression
- Download and use the final optimized version
- Add descriptive alt text to every image in your HTML or CMS
Do Not Forget Alt Text
Image optimization is not just about file size. Alt text (the alt attribute on an <img> tag) serves two purposes: it helps visually impaired users understand the image content, and it gives search engines additional context about your page. Always write descriptive, keyword-natural alt text for every image.
Setting a Target: Under 100 KB Per Image
As a general rule, aim for images under 100 KB for standard blog content images and under 200 KB for full-width hero images. Most photographs can reach these targets with WebP format at 75–80% quality without any visible quality difference to the human eye.